Call it comfort food if you must, but this dish is a crowd pleaser! Any meal I can make in one pan that my entire family loves is a win. Another reason I love this dish is you likely have most of these ingredients on hand. If you are new around here, I have a love affair with my Always Pan and use it several times per day. You can read all about the pan in this post and use code LINDSEY10 to grab one for yourself.
Ingredients
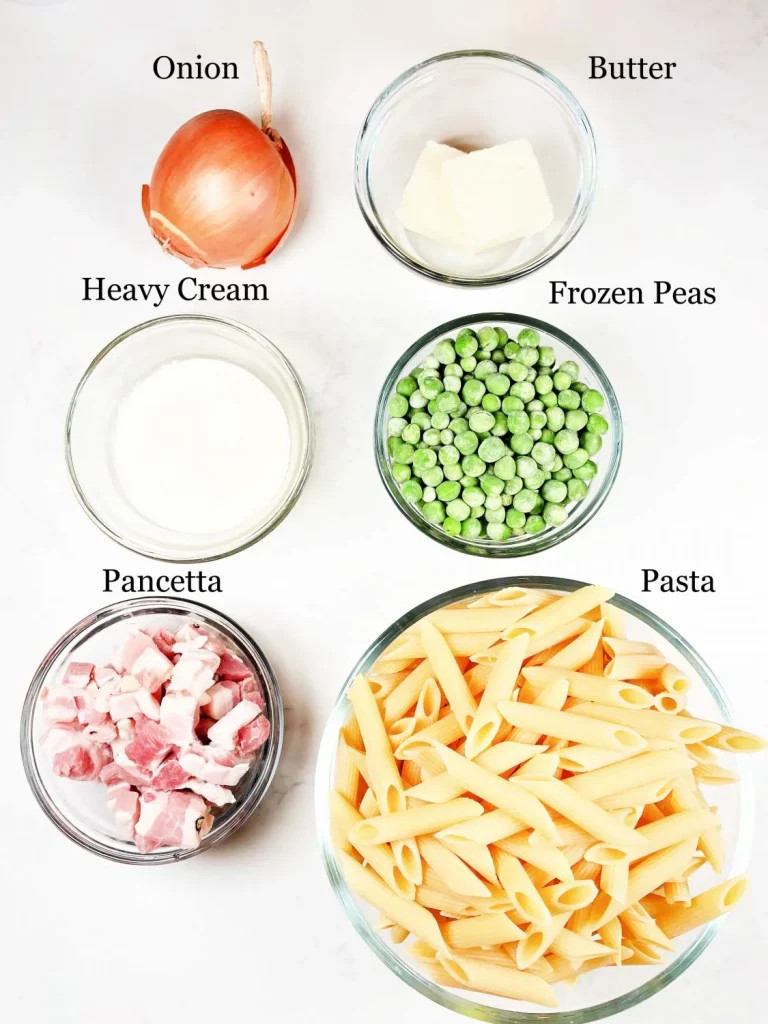
1 box of penne pasta (I sub with gluten free) 1/2 small onion, diced 1 cup frozen peas 1 4 ounce package of diced pancetta 1/4 cup heavy cream 2 tbsp butter 1/4 cup Parmesan cheese
Directions
Cook the pasta according to the package instructions and add the peas during the last 3 minutes of cooking.
In the Always Pan, add the pancetta and cook.
Once cooked through, add the onion and cook until soft.
Add the drained pasta, peas and butter to the pan and mix.
Then add the heavy cream and parmesan cheese. Enjoy!
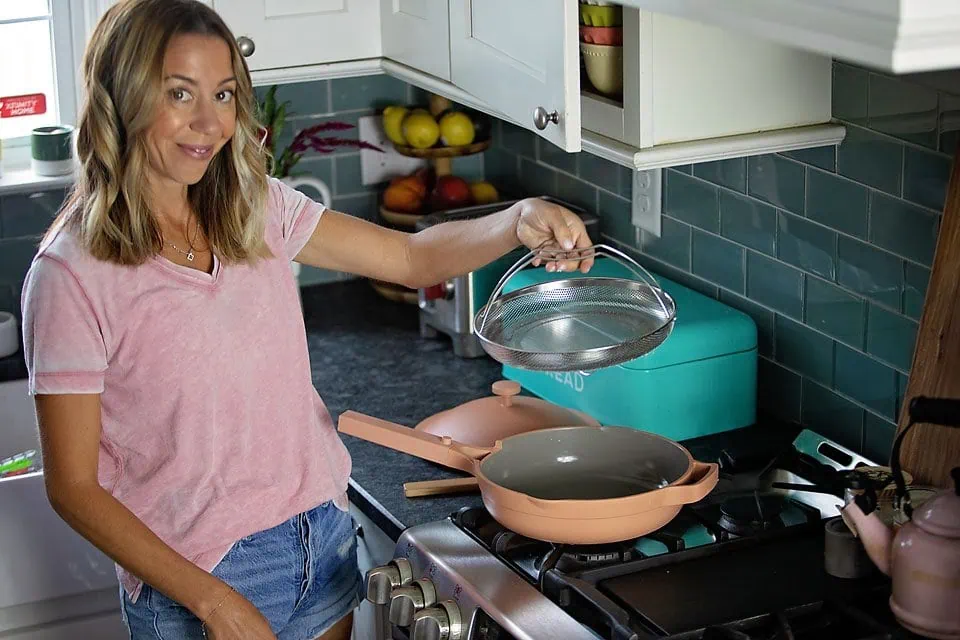
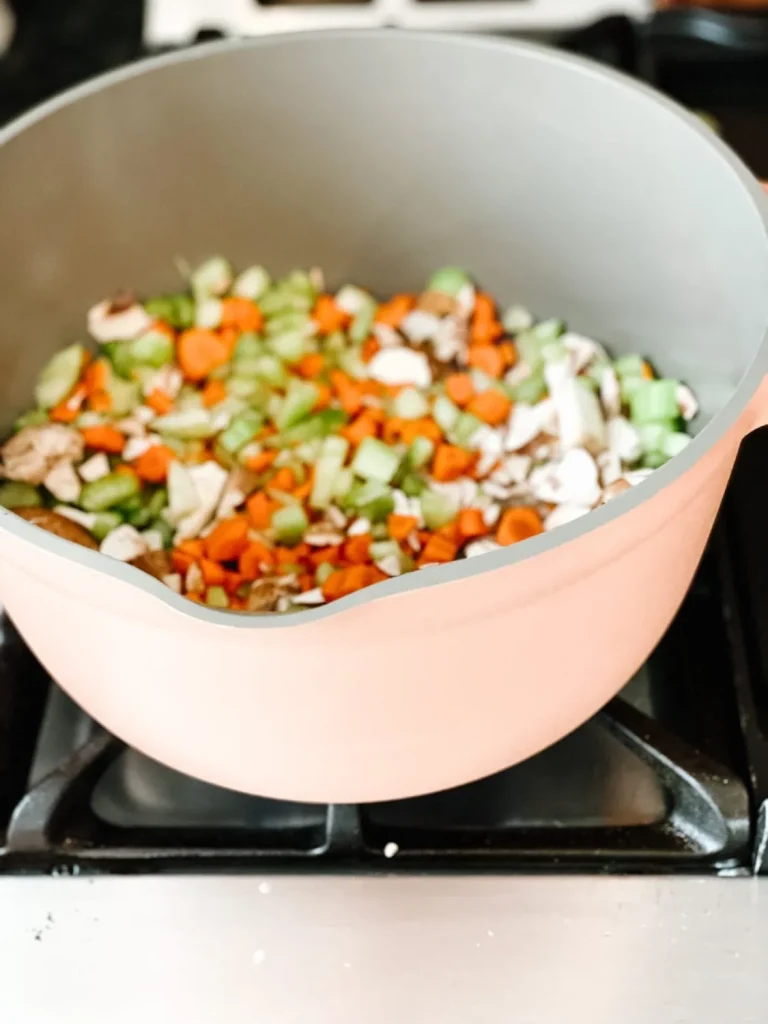
get excited because there is a new kid in town! The Perfect Pot is here and let me name the reasons I love this beautiful piece of cookware. First, and debatably most important, it’s gorgeous. It comes in four stunning hues to complement your kitchen’s vibe. Trust me when I say you will never want to store it – it like stove decor! Another HUGE selling point for me is that it is super lightweight – it’s 4.5 pounds with the lid on and feels like a fraction of the weight of my other pots. Like the Always Pan, The Perfect Pot was designed to replace the need for a lazy susan full of random cookwear. This one pot can boil, crisp, braise, bake, steam, store, pour and more. It comes with a roasting/steaming rack and a notched spoon that fits inside the pot with the lid completely shut. The lid has a built in strainer that aligns with the easy pour spout. These pots make a for a great kitchen upgrade just in time for soup season. If you have a foodie on your holiday list, it would also make a great gift! Use code LINDSEYS10 to save 10% on your purchase!
I broke my Perfect Pot in with an easy weeknight chicken soup recipe. Let’s be honest, everything I make is easy and usually requires only a handful of ingredients. This particular recipe went over VERY well with my kids and has a great balance of protein and vegetables. Yes, it’s comfort food (hello butter and half and half), but there is spinach in there too so that must count for something! Because I am gluten-free, I didn’t use flour to thicken the soup. If you wanted to add about 1/4 cup flour, you can do that after sautéing the vegetables before adding the broth.
Weeknight Chicken Soup Recipe
Ingredients
3-4 carrots diced
3-4 stalks of celery diced
half medium onion diced
1 cup baby bella mushrooms diced
2 cloves garlic minced
2-3 tablespoons butter
Small Rotisserie chicken (breast meat removed and diced)
6 cups chicken stock
1/4 cup half and half (more if desired)
Handful of fresh spinach
Borsari Seasoning to taste
Instructions
Melt butter in the Perfect Pot and sauté carrots, onions, celery and garlic until soft (about 5 minutes)
Add chicken stock and chicken and let simmer for a few minutes until chicken is warmed through.
Lower heat, add half and half and borsari seasoning
Toss in a handful of spinach and stir until wilted.
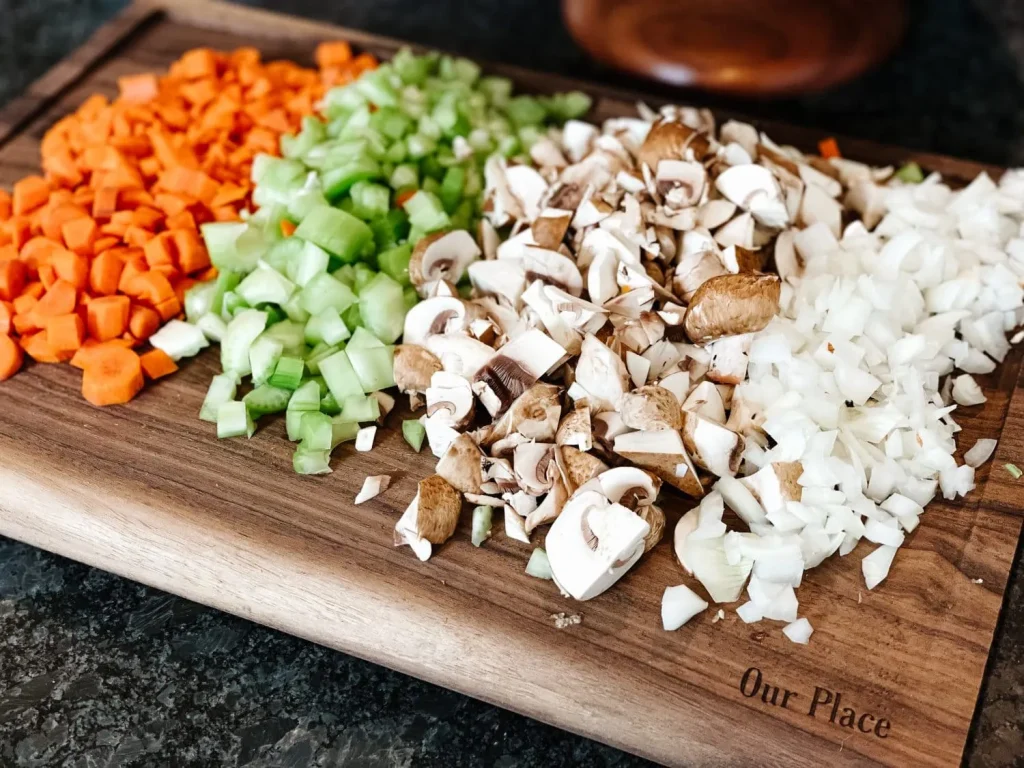
My only regret about this recipe was that I didn’t double it! I honestly thought my kids would hate it and they would eat something else, but turns out, I was scraping the pan clean. If you are unfamiliar with kimchi, it’s a mix of fermented vegetables (mainly cabbage and carrots) with garlic, ginger, and chili peppers. I find my kimchi in a glass can in the refrigerated section of the supermarket. It’s usually near the pickles and sauerkraut and other fermented foods. You can eat it alone (it’s a great source of probiotics) or use it as a condiment and it usually comes in spicy or mild. I first heard of cauliflower kimchi fried rice when I was trying a week of super clean eating. I tweaked a recipe that I got from Sakara to create my own version of this super healthy dish.
This is one of those recipes that you can modify easily depending on ingredients you have at hand. You can also use jasmine rice instead of cauliflower rice and/or exclude the eggs if you follow a vegan diet.
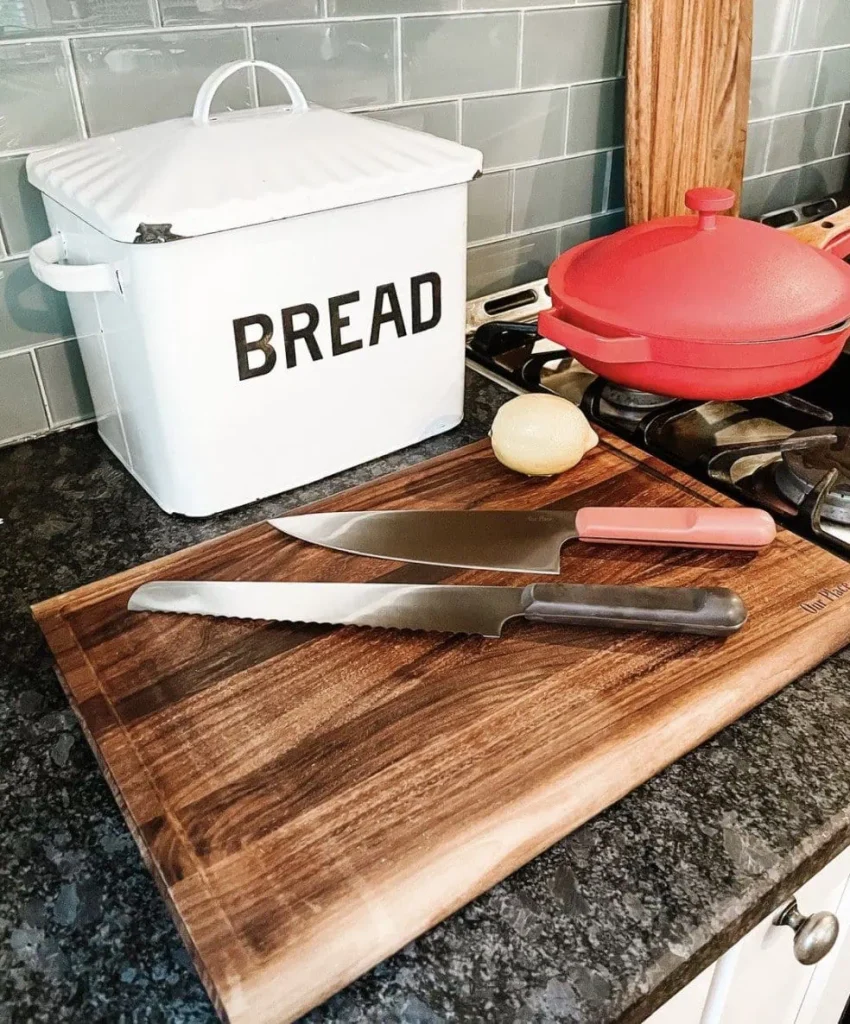
The only tools I needed to prepare this dish were a set of great knives for chopping (I am seriously obsessed with my Our Place knives) and my Always Pan. You can use code LINDSEY10 to save 10% sitewide. If you have been following my blog for a while you know this pretty much the only pan I use. Here is a post explaining why it’s so amazing. The knives are a new addition to the Our Place family and wow – once you start using good knives, you get it! Plus they are pretty too!
This recipe requires a few minutes of chopping and a few minutes of sautéing. It’s definitely a 20 minute dish that can be served as a main course or as a side. It’s a meal you can feel good about because it’s loaded with veggies and healthy protein.
Ingredients
Half yellow onion chopped
2 cloves garlic minced
2 tsp grated ginger
1 cup shitake mushrooms chopped
1 cup shredded carrots
1 cup kimchi (I used mild)
3 cups frozen riced cauliflower
1 1/2 cups fresh spinach
2 tsp kimchi juice
2 tsp coconut aminos
2 tsp sesame oil
4 eggs
Directions:
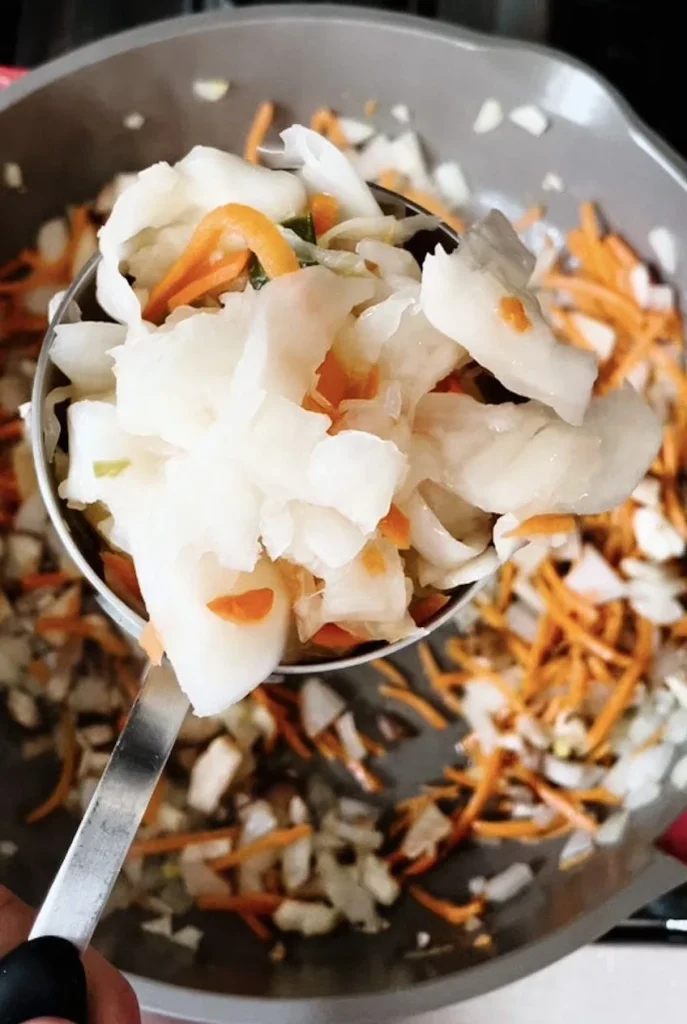
Heat olive oil in pan and saute yellow onion, garlic and ginger until onion begins to soften.
Meanwhile, in a small dish, mix the kimchi juice, coconut aminos, and sesame oil together and set aside.
Add mushrooms, carrots, kimchi and continue to saute for 2-3 more minutes.
Add the riced cauliflower to the pan and fully integrate the mixture.
Add spinach and drizzle with the kimchi juice mixture and cook until the spinach has wilted.
Serve with a fried egg on top (or scramble the egg and add to the mixture)
My husband and I love this dish and I really was surprised my kids loved it too! If you try it, let me know what you think!
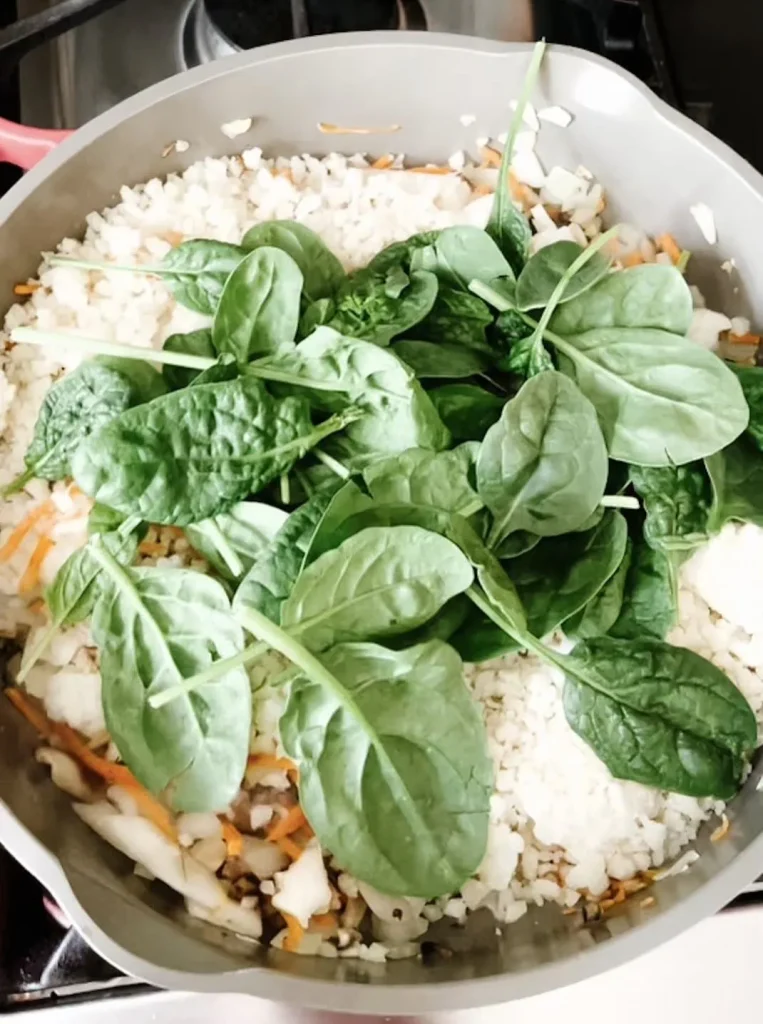
As a self-proclaimed lover of food, but not the best chef in the world, there isn’t much I love more than a good one pot meal. Not just any one pot meal, one that is satisfying, healthy, and checks all of the boxes (easy, balanced, crowd-pleasing). Here is a meal I make often and can be substituted with items you may have in your kitchen – pretty much any veggies go! You can also make it vegetarian, by omitting the chicken. Quinoa as a lot of protein so if you follow a plant-based diet, I am sure you are already aware of this super food!
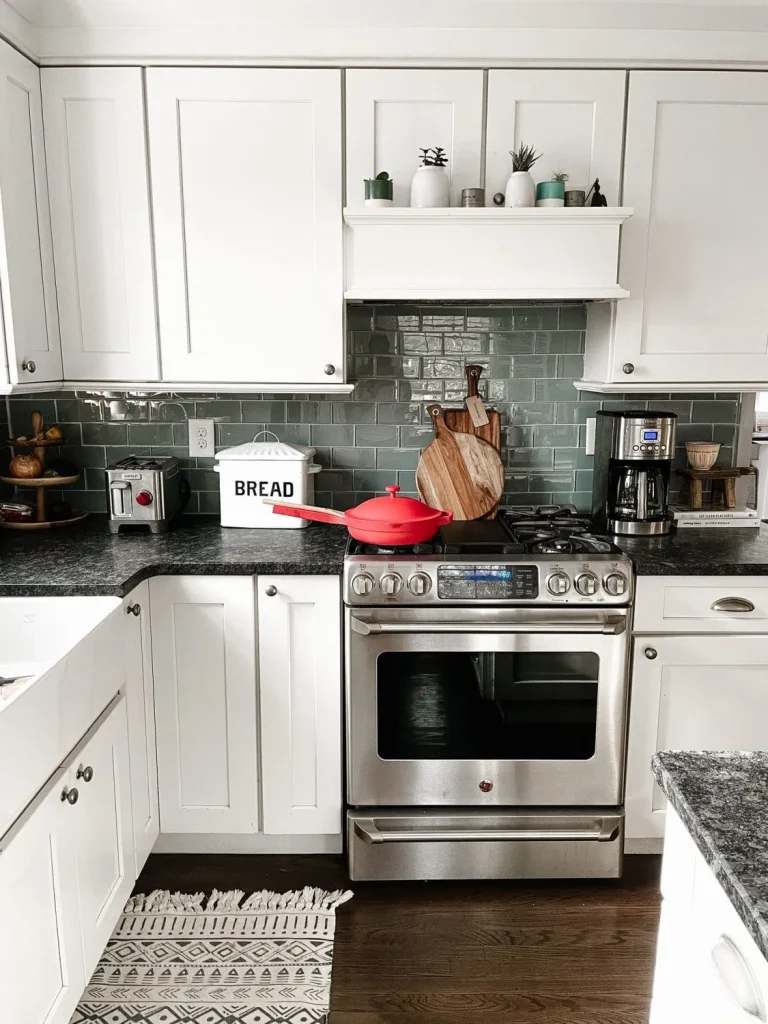
I use the Always Pan to make this dish and it is the pan I use multiple times per day. I know many of you have this pan already and/or are thinking about purchasing one! I wanted to share some quick care tips for the Always Pan so you can protect your investment and preserve the non-stick coating.
Always Pan Care Tips:
The Always Pan should only be used on low-medium heat. The occasional sear is ok, but the aluminum body is designed to distribute heat evenly and quickly so you shouldn’t need to use high heat.
It is also recommended to use non-aerosol high smoke point oils (extra virgin olive oil, avocado oil, refined coconut oil, ghee or peanut oils)
Wait until the pan is cooled before submerging in water.
Clean with warm soapy water and the sponge it comes with. The mesh basket is dishwasher safe, but the pan and the spatula should be hand washed only.
The Always Pan can be used on any type of stovetop. If using induction heat, it is recommended to use the smallest burner.
The Always pan is NOT oven safe.
For more FAQs, check out this page!
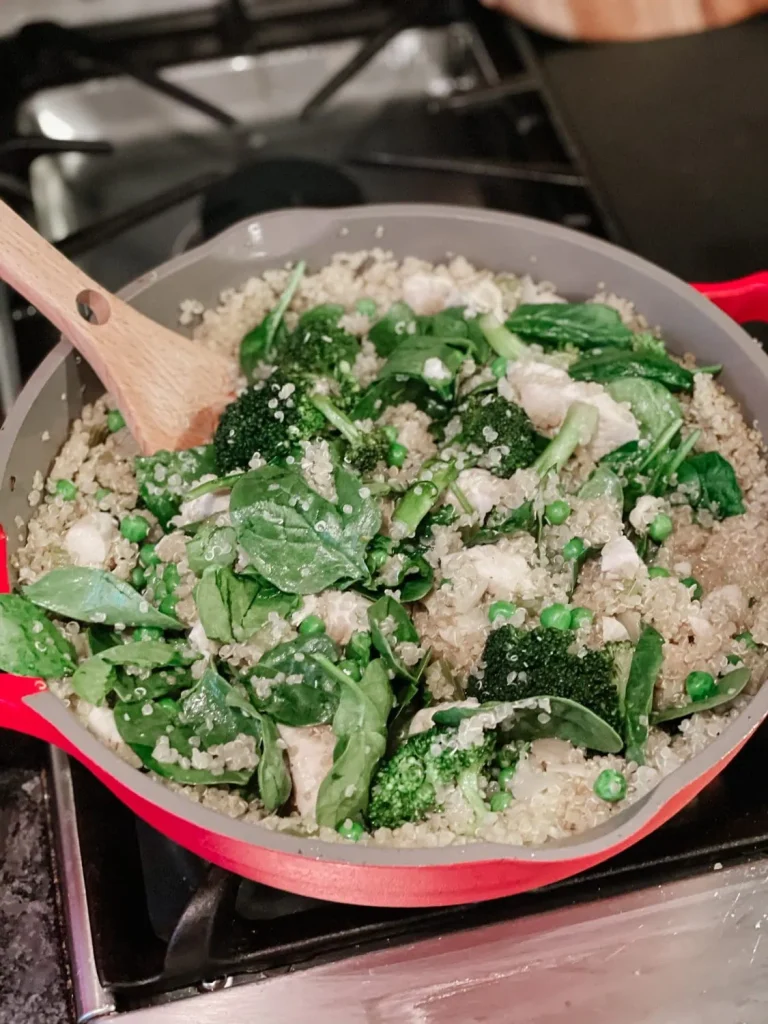
Veggie Loaded Chicken and Quinoa
Ingredients
1 tablespoon olive oil
2 tablespoons butter, divided
1 pound boneless, skinless chicken breasts, diced into 1-inch cubes
Borsari seasoning (or just good old fashioned salt and pepper)
Half yellow onion, diced
2 celery stalks, diced
2 garlic cloves, minced
1 cup quinoa (uncooked)
2 cups chicken broth (may need a little additional)
1 1/2 cups broccoli florets
half cup frozen peas (honestly I just eyeball it )
1 cup fresh spinach
Optional: lemon and grated parmesan cheese
Directions:
Heat 1 tbsp butter and 1 tbsp olive oil on med/low heat. Add the chicken and season to your liking. Sauté chicken until cooked through and then remove from pan and set aside.
Add the remaining butter and olive oil to the pan. Sauté the onion and celery until tender (about 4 minutes). Add the garlic during the last minute.
Stir in uncooked quinoa and broth. Increase heat slightly so the mixture comes to a boil. Cover, reduce heat to low and allow to simmer for about 15 minutes or until liquid is absorbed and quinoa is cooked.
Remove lid and add broccoli florets to the pan. If needed you can add a bit more chicken broth. Replace lid and let broccoli cook for about 5 minutes.
Add the peas and spinach to the pan and gently stir until wilted.
Add the chicken back to the pan and gently mix until heated through.
Serve with parmesan cheese or a squeeze of lemon juice.
Happy Tuesday, friends! It’s the one day of the week that I do not have to make a decision about what I am making for dinner because it’s TACO TUESDAY BABY! Last week I was out of shells so I got a little creative and turned our traditional taco meal into a taco soup. It ended up being the perfect meal for this cold, snowy weather we’ve been having. The best part? So stinking easy! Minimal chopping and only one pot to clean. In the future, I may double the recipe for left overs. My family of six ate the entire pot in on sitting. Not gonna lie, I was flattered.
Every time we have tacos we typically use ground turkey, but you can definitely substitute ground beef or even omit to make it vegetarian.
Heat 1-2 tablespoons olive oil in a large pot. Sauté red pepper and onions for 5 minutes or until they are starting soften. Add in ground turkey and cook through breaking up often until no longer pink. Add tomatoes, corn, beans, salsa and taco seasoning. Mix and cook for one minute. Add broth and bring to a boil. Reduce heat and allow to simmer for 15-20 minutes. Serve alone or with your choice of toppings (shredded cheese, sour cream, cilantro, sliced avocado, and/or tortilla chips).
In a dinner rut? Me, too girl, me too. I feel like any ounce of culinary creativity I used to have has been zapped from my body these days. Before you can say “spaghetti and meatballs AGAIN”, I’ve rounded up some healthy dinner recipes that are simple enough to make this week! They are a mix of vegetarian/non-vegetarian and many are gluten free and/or can be with a few ingredient swaps!
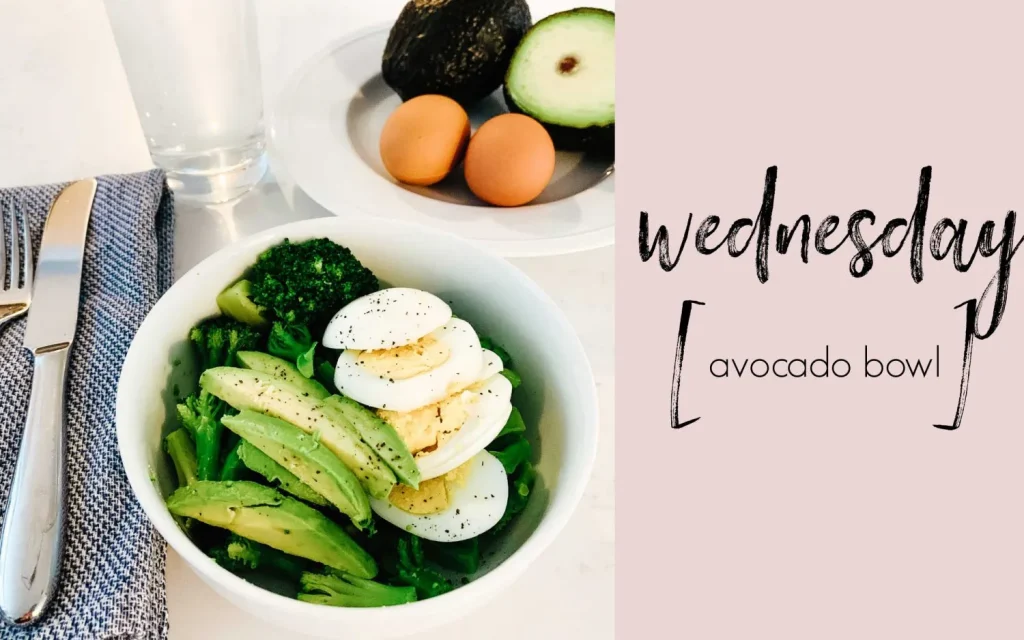
Ingredients:
1/2 cup steamed broccoli
2 hard boiled eggs (or fried)
1/2 an avocado sliced
salt + pepper
Combine ingredients into a bowl and enjoy!
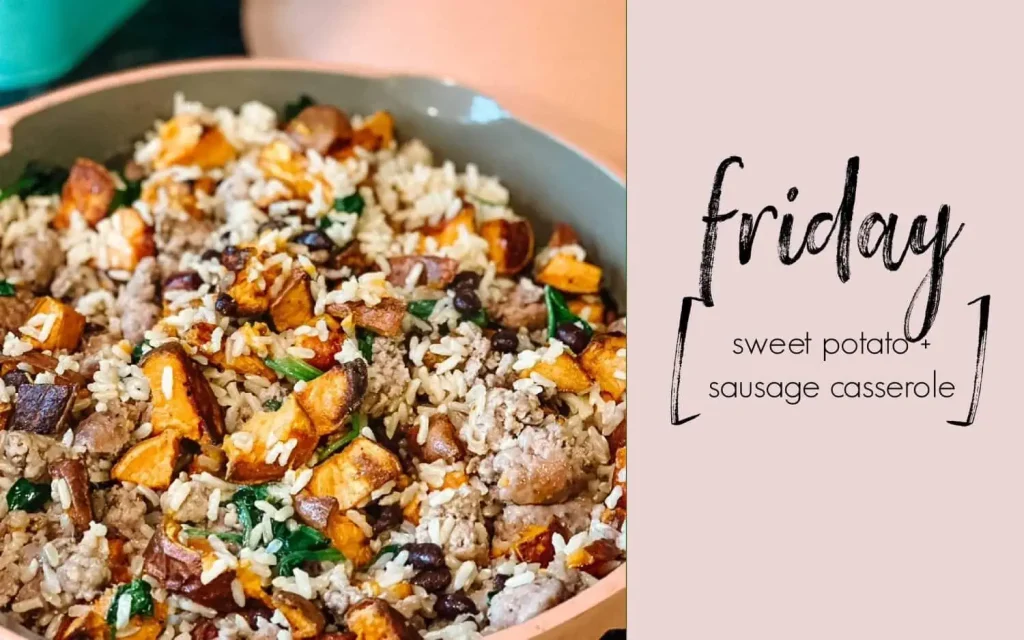
Ingredients
Olive oil
Shallot or 1/4 onion chopped
1 pound turkey sausage (loose or removed from casing) or ground turkey meat
1 sweet potato diced
Half can black beans
1 cup broth
1 cup rice (I use ready-made)
1-2 cups fresh spinach
Preheat oven to 400 and roast sweet potatoes in a little olive oil, salt and pepper until soft (about 15-20 minutes). Meanwhile, sauté shallot in olive oil, after a minute add sausage and cook completely through. Add rice, black beans, and broth and cook until heated. When sweet potatoes are cooked, add to mixture. Throw a cup or two of spinach on top and integrated it until wilted. Serve hot. (My kids like it with a little shredded cheese on top)
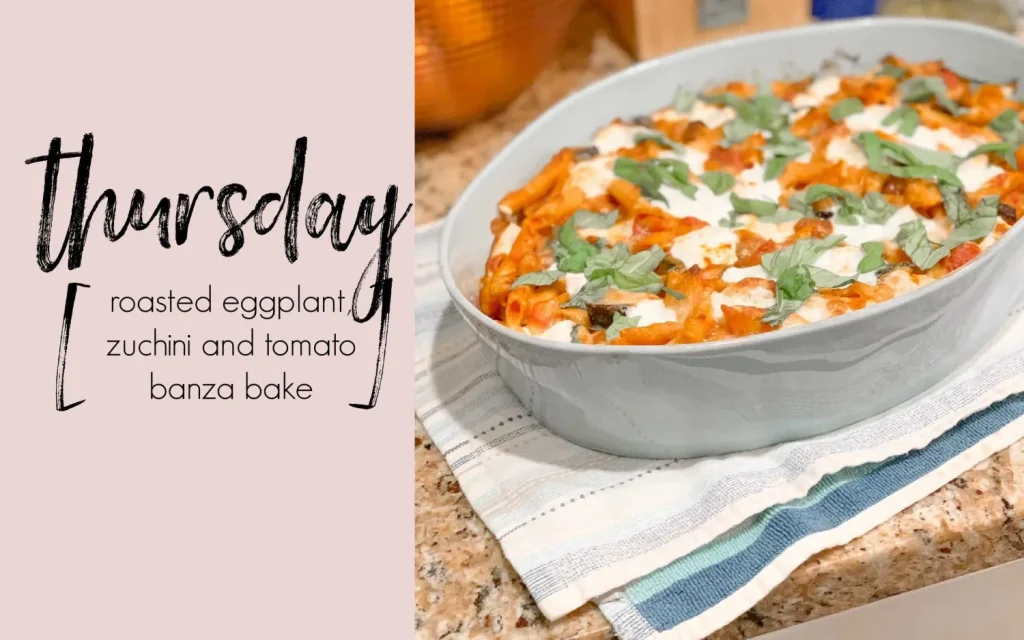
Before we dive into the good stuff, let’s discuss what Banza is. It’s a gluten-free pasta alternative made entirely from chickpeas! If you are a pasta-lover but trying to incorporate some healthier, plant-based things into your diet this is 100% for you! Banza tastes like the real deal and doesn’t get mushy like some other pasta alternatives might.
Now that we’ve got that out of the way, let’s talk about this pasta bake. I saw this on an episode of The Kitchen on Food Network and have been dying to make it. I did make a few tweaks, however! I chose to use Banza because of the gluten-free factor (although you can find regular, gluten-free pastas!) and it worked just as good. I also added in some zucchini for a little extra helping of veggies.
Eggplant, Zucchini and Tomato Banza Bake
Recipe adapted & slightly tweaked from Food Network
Ingredients
1 pound of Banza (I used penne) or regular rigatoni pasta
1 eggplant, diced
1 pint of cherry or grape tomatoes
Olive oil
1 zucchini
One 24 ounce jar of tomato sauce of your choice (I used Rao’s Arrabbiata)
2 cups fresh mozzarella cut into cubes
Salt & pepper
Oregano (optional)
Garlic powder (optional)
Non-stick cooking spray (to spray baking dish)
3 tablespoons grated Parmesan (or as much as you’d like 🙂 )
Fresh basil for garnish
Directions
Preheat over to 400 degrees. Line a baking sheet with parchment paper and spread the eggplant, zucchini and tomatoes evenly in a single layer. Drizzle with olive oil, salt & pepper (add any other spices you wish, too!) and mix together to coat. Pop in the oven for 25-30 minutes to roast. Leave oven on at 400!
While the veggies are cooking, cook the Banza/pasta according to package and drain. Set aside. If cooking regular pasta, reserve 1/2 cup of the pasta water. If using Banza, be sure to rinse it off after draining so it maintains it’s firmness.
Once veggies are done roasting, combine them with the pasta, jar of sauce, 1 cup of the cubed mozzarella and mix to coat evenly. Note: The original recipe calls to reserve some pasta water and add to this mix. I found with Banza it is not needed, as it’s still a little wet from rinsing off.
Spray baking dish with non-stick spray and dump your mixture into the dish. Top with the remaining cup of cubed mozzarella and Parmesan, and toss in the oven for about 20-25 minutes. For extra golden brown on top, turn on your broiler after your dish is done cooking for a few minutes.
Let’s be real: it doesn’t have to be a certain season to crave a good ol’ blueberry muffin. But not everywhere carries a gluten-free version. So when I stumbled upon this recipe I knew I had to give it a whirl. And boy oh boy am I glad I did.
I will say I used coconut sugar vs the white sugar it calls for. This is a total, personal preference. I found the coconut sugar gave the muffins a little bit more of a coffee crumb cake-like texture and taste, and honestly I was just as satisfied!
1/2 cup butter, softened (I substituted 1/2 cup of coconut oil, melted)
3/4 cup white sugar (I used 3/4 cup coconut sugar)
1/2 cup milk (I used coconut milk – you could also used almond, oat or soy milk!)
1 teaspoon vanilla
2 eggs (I am sure you could use flax seeds as a dairy-free substitute, but have no experience with using them!)
1 1/2 cups fresh blueberries
Directions
\Preheat your over to 425. Line a muffin tin with cupcake liners or spray with non-stick spray.
In a small bowl combine cinnamon, flour, baking soda and salt. Whisk together to combine. In a large bowl add the butter & sugar and mix together until they are creamy. You could do this part by hand or with a hand mixer, both taking several minutes. After combining, add in milk, eggs and vanilla and stir to combine.
Add your wet ingredients to your dry ingredients and mix well. This should be a thick batter.
Add blueberries into a separate bowl and sprinkle with flour & mix. Then gently fold in the berries to your muffin batter. Cue David & Moira Rose from Schitt’s Creek figuring out what “fold in” means for a recipe
Load up your batter into the muffin tins. Pop them in the oven and bake for 5 minutes, then lower the oven temp to 350 and bake for an additional 15-20 minutes. Trust me on this as I trusted the original recipe — this makes those beautiful, tall muffin tops! Test the insides of muffins with a toothpick to make sure they are thoroughly cooked.
Cooking is not my favorite thing in the world, but if a new workout outfit can motivate me to move, maybe a new pan could motivate me to cook?
First impression? Ladies, let me tell you… this pan is a looker.
** Use code LINDSEY10 to get 10% off your order!**
She’s pretty enough to leave out on your stove between meals, but I guarantee you won’t put her away even if you wanted to. The “hype” of the Always Pan is that it replaces 8 pieces of traditional cookware. You can braise, steam, sauté, boil etc… It is also made with non-toxic ceramic and is dishwasher safe. It comes with a stainless steal mesh basket for steaming/boiling and a wooden spatula with it’s own little nesting spot. It also has knobbed lid and a pour spout. With all of these bells and whistles, it’s just 3 pounds. What I’m trying to say is, I’ve found myself using the pan so much (as in, every meal) that I don’t even have time to put it away.
And can we talk cleaning for a second? Maybe cleaning is why I don’t like cooking? Or cooking is why I don’t like cleaning? Either way, this pan is hands down the easiest pan to clean. Even after making eggs, you can pretty much just wipe it clean. In my 6 months of using this pan, I have never once had to soak it. Sorry not sorry to my husband who loves “soakers” so he can just get to it later. Hint: he never gets to it later, but I digress….
This is a long way of saying that, the Always Pan is worth every penny and now my entire family uses the it and they all share my praise.
I loved the pan so much I recently got the entire dinner bundle which includes the pan, 4 nesting bowls, 4 plates hand painted porcelain, and 4 hand-blown drinking glasses (that are stackable!). Hot Tip: If you have a wedding coming up, this bundle is the PERFECT gift!
And while I use my Always Pan for eggs on the daily, I thought it would be fun if I shared some of my go-to weeknight recipes below. My family also chipped in and shared some of their favorite family recipes to make in the Always Pan.
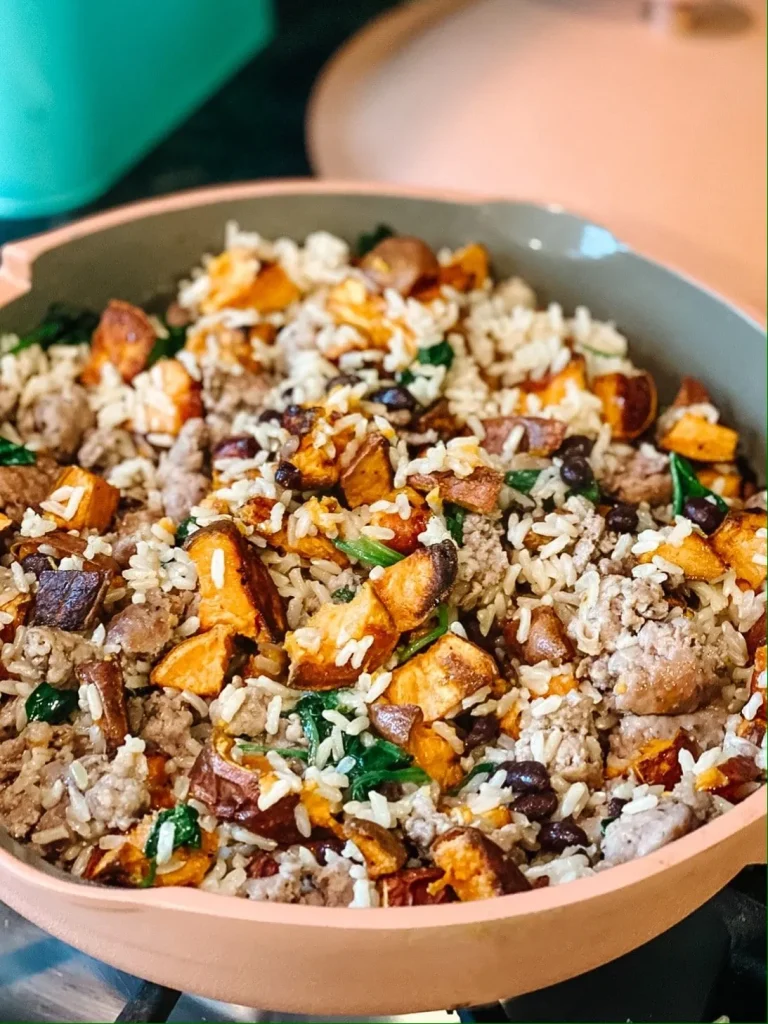
Sausage + Sweet Potato Rice Bowl
Ingredients
Olive oil
Shallot or 1/4 onion chopped
1 pound turkey sausage (loose or removed from casing) or ground turkey meat
1 sweet potato diced
Half can black beans
1 cup broth
1 cup rice (I use ready-made)
1-2 cups fresh spinach
Preheat oven to 400 and roast sweet potatoes in a little olive oil, salt and pepper until soft (about 15-20 minutes). Meanwhile, sauté shallot in olive oil, after a minute add sausage and cook completely through. Add rice, black beans, and broth and cook until heated. When sweet potatoes are cooked, add to mixture. Throw a cup or two of spinach on top and integrated it until wilted. Serve hot. (My kids like it with a little shredded cheese on top)
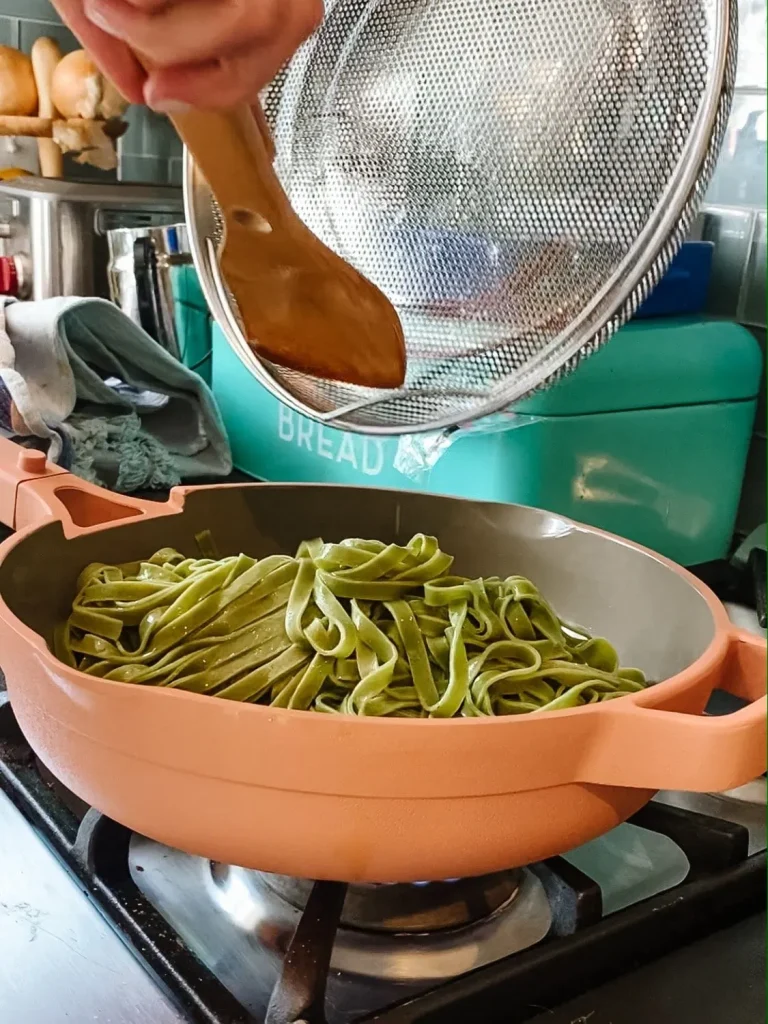
“Green Noodles” – kid favorite
1 pound fresh spinach linguini
2 tablespoons butter
2 table spoons olive oil
3 cloves garlic
salt to taste
Parmesan cheese
Fill Always Pan with water, and insert mesh basket. Cook pasta as directed (if fresh, usually 2-3 minutes). Lift basket and discard water. In the empty pan, melt butter and add olive oil. Sauté garlic until fragrant (watch that it doesn’t burn). Add the pasta back into the pan and mix. Add a pinch of salt and serve with Parmesan cheese.
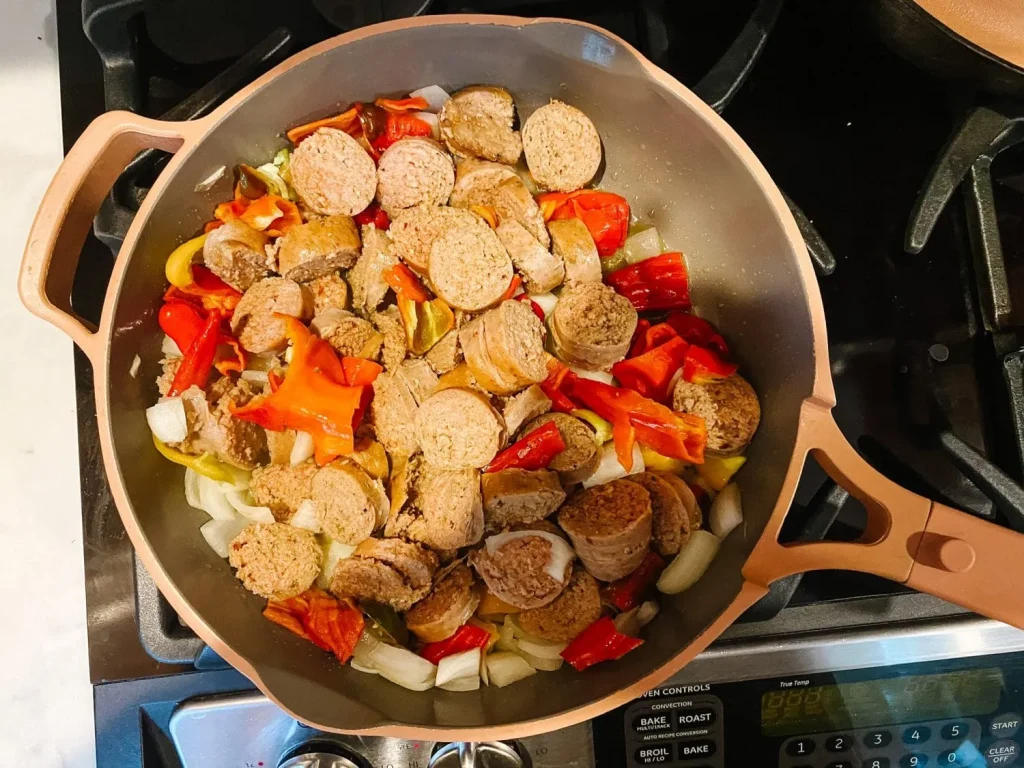
Sausage + Peppers
Ingredients:
1 round sweet/mild Italian sauage
2 red peppers sliced
1 red onion sliced
1 can V8 or marinara (I like Rao’s)
1 tbsp tomato paste (only if using V8)
Instructions:
Italian rolls and Parmesan Preheat oven to 350.
Bake sausage in Always Pan with water covering the bottom of pan (about 20-30 minutes until mostly cooked). Flip sausage over half way.
Heat olive oil in a large pot then saute peppers, onions, and mushrooms until softened.
Remove sausage from oven and slice into bite size pieces.
Add sausage to vegetable mixture and add one can of V8 juice (or marinara sauce).
Add tomato paste (only if using V8 and desire a thicker sauce).
Stir the mixture and saute untl sausage is fully cooked.
Serve with Italian rolls or in a bowl with parmesan cheese.
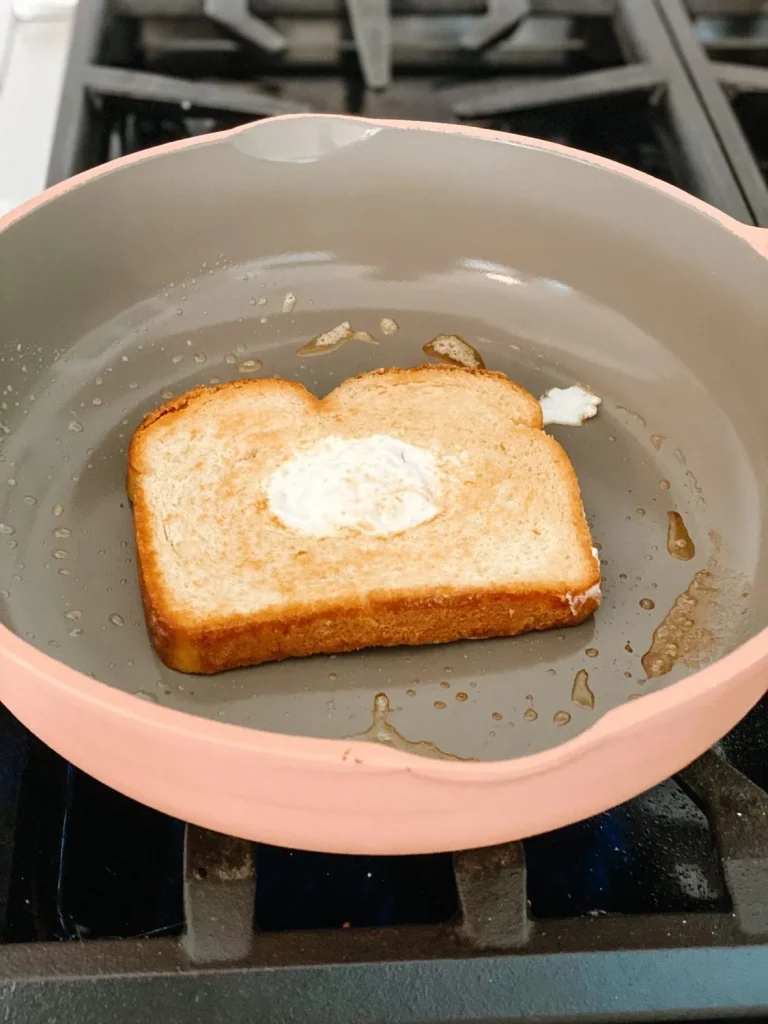
Bird’s Nest
Ingredients:
1 slice of bread
1 egg
1 tbsp butter
salt/pepper
Directions:
Cut a hole in the center of the bread. Melt butter on Always Pan and coat both side of the bread with melted butter. Crack the egg into the hole of the bread and fry on both sides for a few minutes (flip half way). Egg should be a little runny in the middle. Season with salt and pepper!
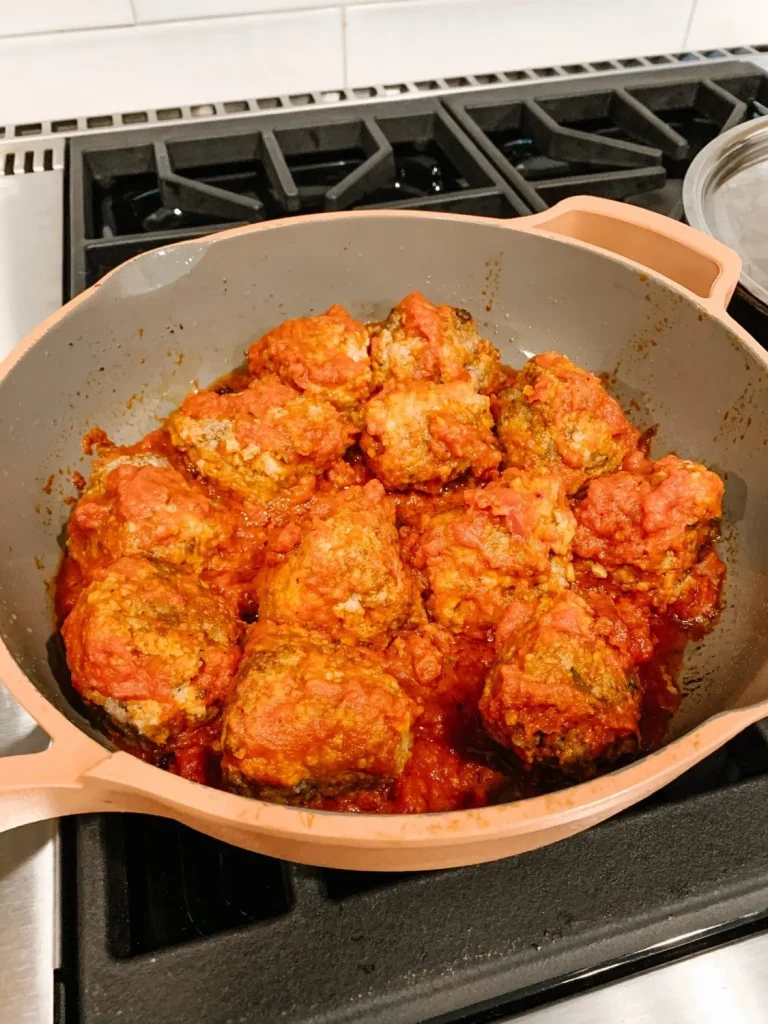
Homemade Meatballs
Ok ok so this isn’t a family recipe… It’s Ina’s. But now that I’ve been cooking so much I feel like we are practically related, so just go with it.
If you have any questions about the Always Pan (like which color to get 🤗) or the Dinner Bundle, I am happy to help! Remember to use code LINDSEY10 to save 10% off your order!
Ladies, winter is no time to let your skincare game hibernate. Dry air, cold winds, and toasty indoor heat can leave your skin feeling as dull as a January morning. I have a few non-negotiable products that help keep your skin glowing, hydrated, and smooth all season long. Here’s the lowdown on some of my favorite products.
But first… CODES!!!
1/1 – 1/31: NEWYEAR15 – $15 off $35+ purchases for NEW customers only
Second-time customers: $10 off of $25+ purchases – HELLO10
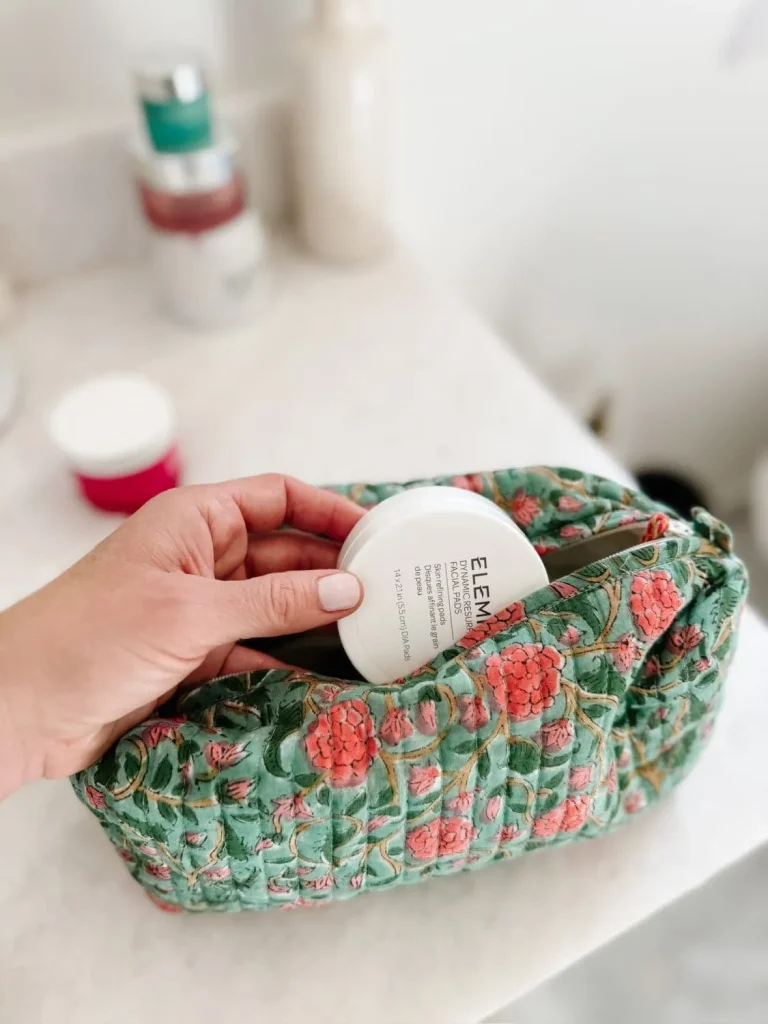
1.Dynamic Resurfacing Facial Pads
Think of these as a gentle reset button for your skin. These pre-soaked pads are like a mini spa treatment, sweeping away dead skin cells to reveal a fresher, brighter you. Perfect for winter when your skin craves a little extra TLC to fight dullness. Use them every other day to start then build to 2x per day to keep your skin baby-soft and ready for all the hydration you’re about to pile on.
Why You’ll Love Them:
Smooths uneven texture (goodbye, flaky patches!)
Gently exfoliates without irritation
Preps your skin to soak up all the moisture from your creams
And yes, this set comes with a travel size container because when you start using them you won’t be able to live without them even for a long weekend.
2.Pro-Collagen Rose Marine Cream & Superfood Midnight Facial Set
Day and night hydration? Check and check! This powerhouse pair works around the clock to keep your skin hydrated, plump, and glowing—because your skincare routine should work as hard as you do.
Start your day with the Rose Marine Cream, a lightweight yet deeply hydrating moisturizer that’s packed with anti-aging benefits and a delicate rose scent that feels oh-so-luxurious. By evening, let the Superfood Midnight Facial take over. It’s like a nourishing smoothie for your skin, working its magic while you sleep so you wake up with a radiant, refreshed glow.
Why You’ll Love Them Together:
Rose Marine Cream: Hydrates, firms, and preps your skin for the day ahead
Superfood Midnight Facial: Replenishes, nourishes, and restores while you sleep
Together, they create a seamless day-to-night routine that keeps winter dryness at bay and leaves your skin glowing 24/7
3.Pro-Collagen Vitality Eye Cream
Late nights and early mornings? No problem. This eye cream is like a shot of espresso for tired eyes. It hydrates, brightens, and reduces puffiness. A little dab goes a long way, so this jar is like a tiny superhero in your skincare routine.
Why You’ll Love It:
Minimizes fine lines and puffiness
Brightens up dark circles
Leaves your under-eye area smooth and refreshed
Winter may try to wreak havoc on your skin, but Elemis has you covered—literally. Exfoliate with those dreamy facial pads, hydrate like a pro with the rose cream and eye cream, and let the Superfood Midnight Facial work its magic overnight. Your skin will thank you (and so will your mirror).


")


")